As an AI enthusiast, I always want quick access to large language models (LLMs) for experimenting with new tools and frameworks. We can always subscribe to cloud-hosted models such as OpenAI GPT or Anthropic Claude. However, these are expensive, and I prefer running a few models locally while still in the experimentation phase. Local execution also enables full customization and integration into local workflows, providing offline access and reduced latency for faster, more reliable responses. Additionally, it provides control over model updates and configurations, preventing disruptions caused by changes from cloud providers and enabling independent experimentation.
There are several options available for running Large Language Model (LLM) inference locally. Ollama is one such option and my favorite among all. Ollama offers access to a wide range of models and has recently enabled cloud-hosted models as well. It offers both CLI and GUI (chat interface) to interact with the loaded models.
In today’s article, we will learn about Ollama and explore its capabilities.
Get started
Ollama provides the easiest way to run LLMs on your local machine. Ollama is available on Windows, macOS, and Linux. Once you install Ollama, it will run as a startup process. You can use Ollama CLI to download and run models.
| |
To download a model, you can use ollama pull or ollama run. The run command will load the model if it is already available in the local cache. If not, it will download the model weights.
For the model names, refer to the model registry.
| |
The downloaded model can be served using the run command.
| |
You can exit the chat interface by specifying /bye as the command. The model remains loaded for a few minutes (default is 5 minutes) even after you exit the chat interface.
| |
As shown above, in this case, the model remains loaded for an additional 2 minutes. You can keep it loaded for additional time using the --keepalive optional parameter.
| |
Besides the ollama run and ollama pull commands, you can also a serve a model using the ollama serve command. This command starts a local web server and starts serving the locally available models. By default, this endpoint listens at port 11434. You can change the behavior of this command by settings the environment variables listed in the command help.
| |
For example, if you want to run at API endpoint at port 8080, you can run the following command.
| |
The Ollama GUI runs in the background and it runs at port 11434. If you run ollama serve without setting the OLLAMA_HOST environment variable, the command fails.
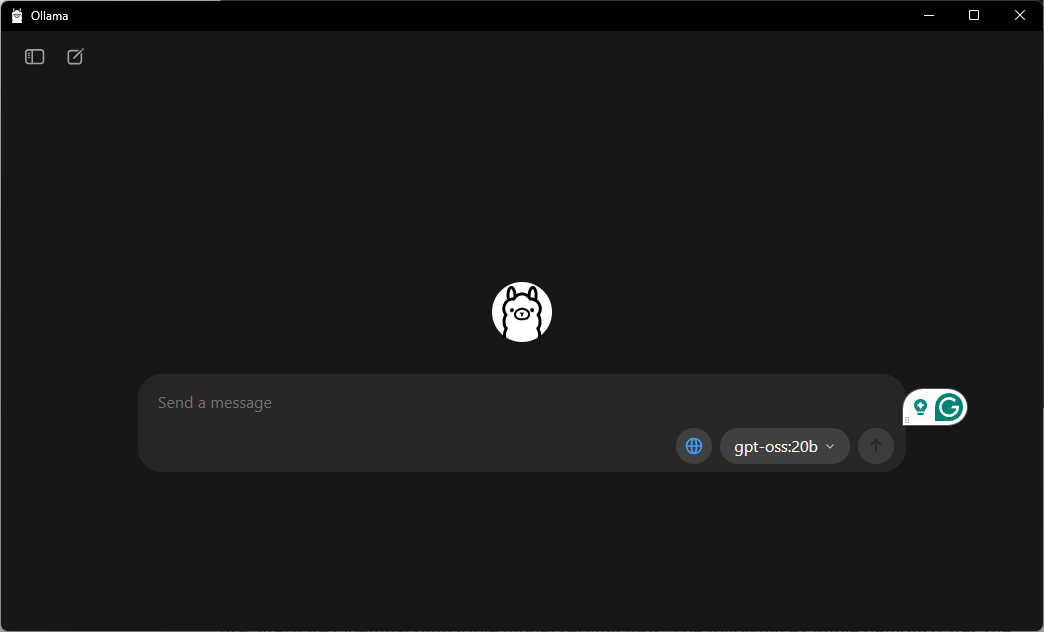
Ollama GUI
Ollama features a minimal GUI interface as well.
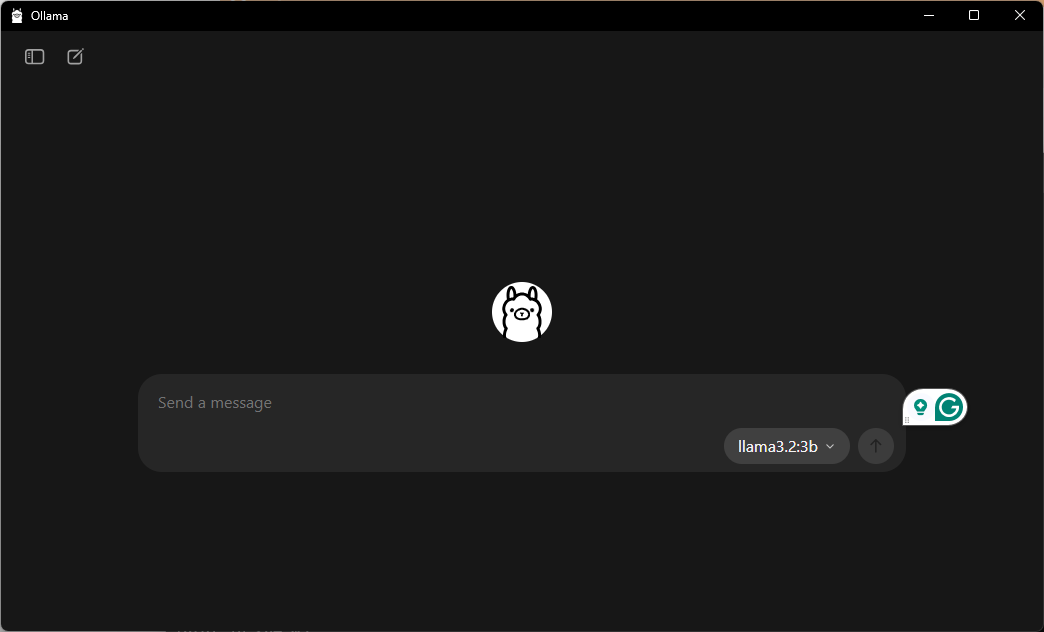
I like this GUI and use it often to quickly chat with a few models running locally or in the cloud!
Ollama API
You can programmatically interact with the model using the Ollama API. This is a typical REST API. You can use the official SDKs to abstract the complexity of dealing with the REST API directly. The Ollama API is OpenAI compatible, and therefore, the programs you write can easily be switched to use alternate OpenAI-compatible model serving APIs. The following example demonstrates the use of the Ollama Python SDK.
| |
When you run this, you will see the response from the model.
| |
Cloud models
With the recent update, Ollama now supports accessing Ollama cloud-hosted models. These are especially useful when you do not have the local compute to run larger models. As of this writing, the following models are available.
- qwen3-coder:480b-cloud
- gpt-oss:120b-cloud
- gpt-oss:20b-cloud
- deepseek-v3.1:671b-cloud
These models can be accessed at the command line as well as the cloud.
Overall, Ollama has been my go to way of serving models locally and quick experimentation. I have tried a few more methods that I will write about in the future articles.
Last updated: 29th September 2025